PeggleEdit
Introduction
Before trying advanced movement paths, it is worth experimenting with simple movement effects to understand the basic properties of movement info fully.
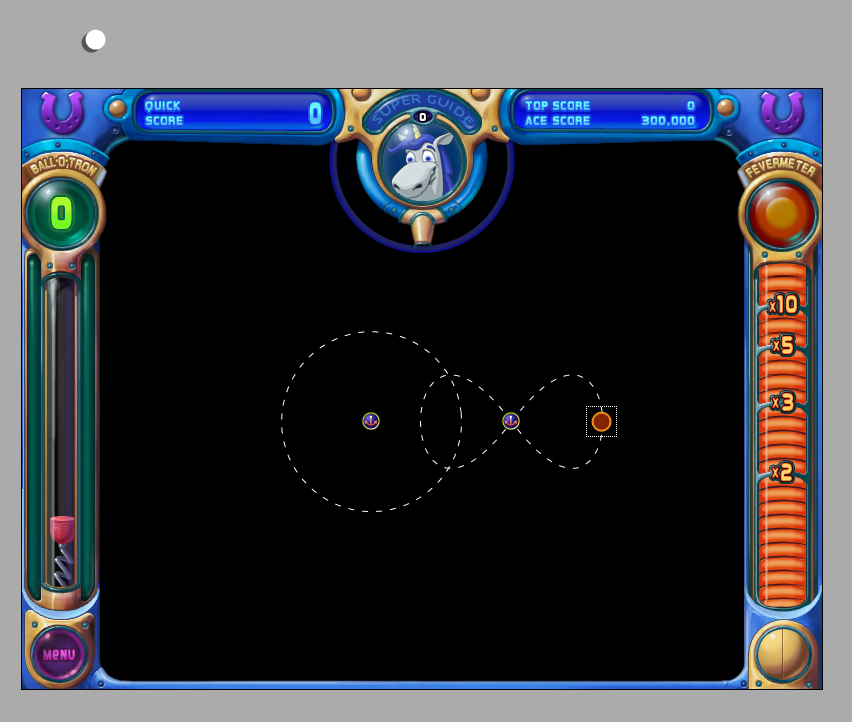
Simple movement paths such as a circle revolve around an anchor point. The location of the anchor point is the location that is stored in the level. This makes it easy to have multiple objects following the same path, as you can just set all their anchor points to be at the same position and spread their phases evenly.
Advanced movement is not that different. You still have your objects moving about an anchor point. However you can set the object’s anchor point to also move around another anchor point to create more complex paths.
Think of the moon as your peg that is moving. The Moon (peg) is orbiting around the Earth (anchor point 1), and the Earth (anchor point 1) orbits the Sun (anchor point 2), which is in a fixed position.
This can go one step further again with your second anchor point moving around another anchor point. There is essentially no limit.
How Peggle Works
All objects can have movement info attached to them, and movement info can have another movement info attached to them giving an unlimited cycle. This is the best way to setup your advanced movement path, and is explained below in the tutorial. Each movement info has a unique ID (MUID) associated with it, relative to where the entry is stored in the file.
If you were to save a level like this, your object with two anchor points would only do one movement around the first anchor point. This is because you need another object to “activate” / “override” the second movement info (an odd design feature of Peggle that makes using the editor less intuitive). This should be an object such as a circle or polygon which is invisible and has collision set to false. This object needs to have movement info and have the property Movement Link IDX set to the unique ID (MUID) associated with the second movement info. Once you have set this is in the editor, the link will remain even if the object changes location in the file as the editor links it by reference and not by a number.
What will happen now is that the object you created to “override” the second movement info will now be essentially anchor point 1. If you set visibility to true, you will be able to see how it works and see why these objects, that are normally off screen, are there. The editor provides a button which will generate these link objects for you, so most of the time you shouldn’t need to worry too much about this, once you understand the concept. Just follow the tutorial and you should get the hang of it.
Tutorial
Step 1
Create a peg and select it.
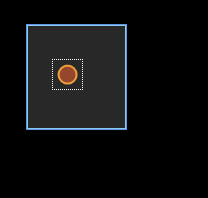
Step 2
Click the Object tab on the ribbon menu at the top of the main window. Then press the type button and select a movement type.
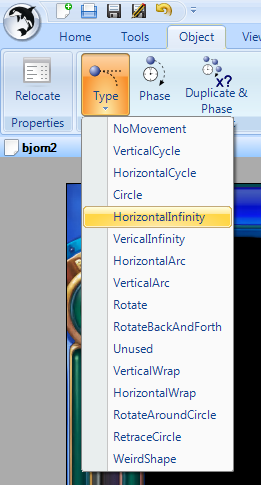
Step 3
Then on the properties movement, find base movement under the Movement Info property of the peg. Click the ellipsis button to create another set of movement info properties for the first movement info.
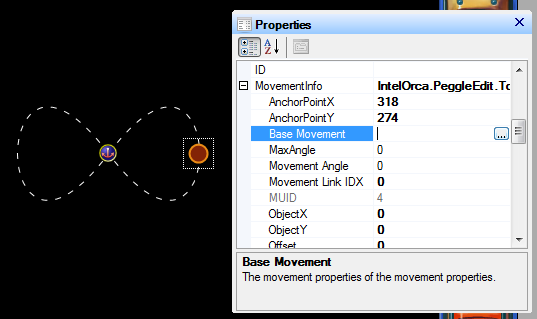
Step 4
The peg may change it’s current position so you may need to set the anchor location of the first movement info to a low value such as (50, 0). This this essentially an offset to the base movement anchor.
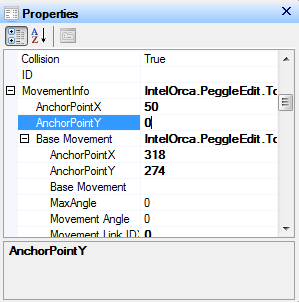
Step 5
Set the properties for the base movement info. Remember to set the movement type, the radius and the time period.
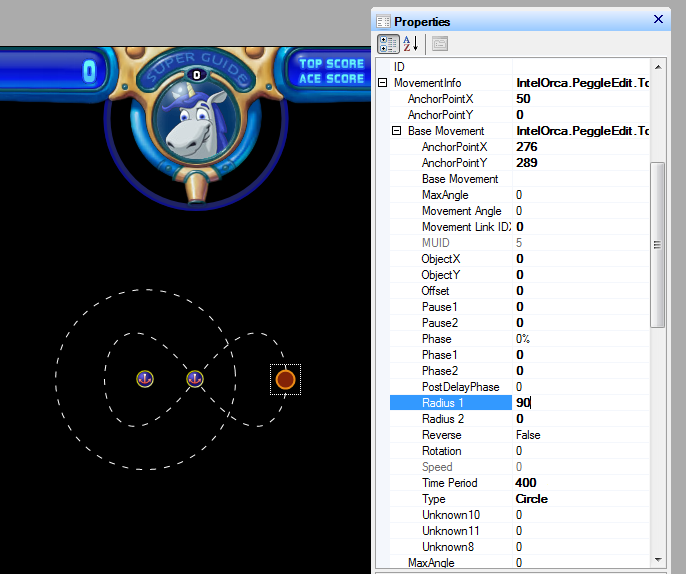
Step 6
Now with the peg still selected and still on the object tab of the ribbon at the top of the main window. Click Link sub-movements.
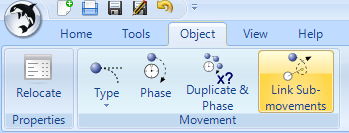
Step 7
Doing this will produce a white circle above the level. Although the circle is at this location for now, when you next re-open the level, the circle will have a location reset to (0, 0). The circle has visible and collision set to false so that the ball does not collide with it and you cannot see the circle in the game.
